![]()
Getting started
This chapter will break down the use of the ADTF Device Toolbox 3. After reading this guide, you will know:
- how to connect the ADTF Device Toolbox with ADTF 3.x
- where the delivered example sessions are located
- how you can start and use the delivered configuration
- Using CMake with the ADTF Device Toolbox
Connect ADTF Device Toolbox with ADTF
There are some ways to connect the new Device Toolbox with an existing ADTF delivery.
Using ADTF addons folder
Like in ADTF 2.x it is possible to extract the ADTF Device Toolbox in the ADTF addons directory. Due that there is no installer anymore, the archive has to be extracted manually.
Extract wherever you want
<ADTF_DIR>/addons/devicetoolbox directory.To guarantee that, you should prefer the symbolic link approach further down or use remove/look up/clean up functionality within System Editor of ADTF Configuration Editor that the example paths will be adapted to your setup to find the related adtfplugins. Please do not forget to proceed these steps for Release and Debug Plugins as well.
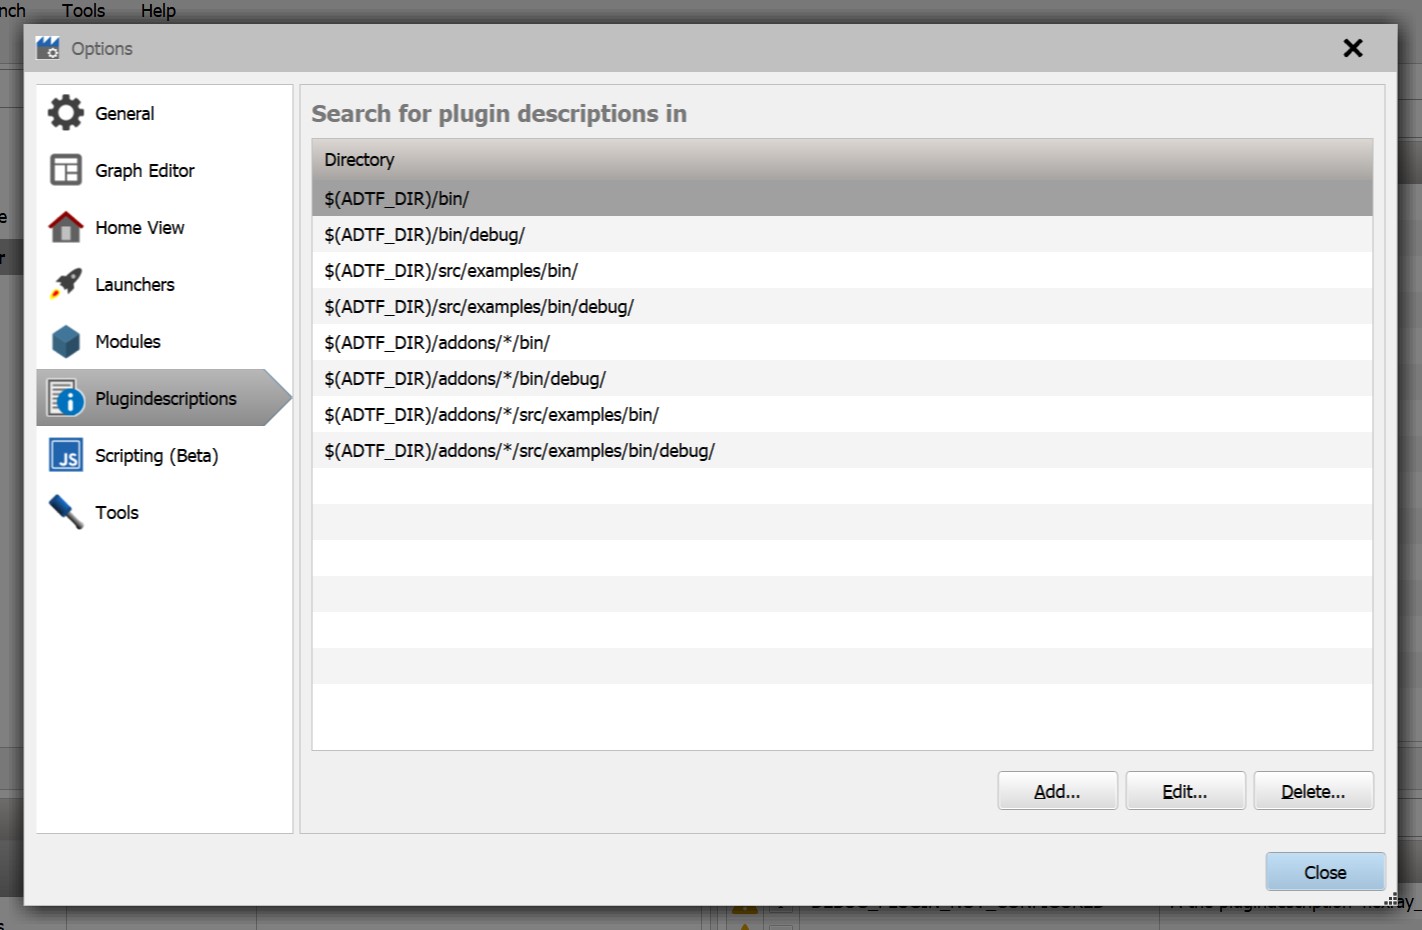
You can extract the ADTF Device Toolbox wherever you want (maybe you are using conan or any other package manager) it will work fine, but you have to set the paths to your plugindescriptions in ADTF Configuration Editor.
This will be stored for your user settings.
Symbolic link
A symbolic link can combine both worlds - extracting anywhere but using the ADTF addons structure. The ADTF Device Toolbox folder has to be linked symbolically into the ADTF addons directory.
# called within <ADTF_DIR>/addons
Windows: mklink /d devicetoolbox <Path to your toolbox>
Linux: ln -s devicetoolbox <Path to your toolbox>
Where do I find the delivered example sessions?
We provide an example project in order to show the use cases of several filters provided in this toolbox. The project contains several ADTF sessions for different use cases. If you have extracted the ADTF Device Toolbox within the addons folder of your used ADTF 3.x delivery and set the root folder name to devicetoolbox, you can find the necessary ADTF project here:
<ADTF_DIR>/addons/devicetoolbox/src/examples/projects/Devicetoolbox_Project/devicetoolbox.adtfproject
How can I start these sessions and what is the purpose of them?
Each session describes an specific use case, example or feature within Device Toolbox - feel free to adapt them for your use case. In general, the sessions can be started in different ways. Have a look at in ADTF3 Guides especially Best Practice Tooling which launch option fulfills your needs.
Building the examples
Using the supplied batch file (Windows only)
- make sure that the path to your CMake executable is in your PATH variable.
- open the Visual Studio Command Prompt from your start menu (under "Microsoft Visual Studio <Version>/Visual Studio Tools")
- from the Visual Studio Command Prompt launch the
build_examples.batfile in the root directory of the toolbox - follow the instructions
Manually
- Launch cmake-gui
- Set the source directory to the root directory of the devicetoolbox (e.g
<ADTF_DIR>/addons/devicetoolbox). - Set the
build/binarydirectory to a NEW and different directory (e.g.C:/Work/device-build) - Press .
- Click when CMake asks to create the build directory.
- Select your compiler in the dialog that appears now and press .
- You will now get red values in the list, red does not mean wrong but new!
- Make sure that ADTF_DIR is correctly set (path to your ADTF delivery)
- Press again.
- The ADTF_DEVICE_TOOLBOX_DIR variable should point to the ADTF Device Toolbox delivery.
- Set CMAKE_INSTALL_PREFIX to the root directory of the ADTF Device Toolbox (e.g
<ADTF_DIR>/addons/devicetoolbox). You can choose any directory you like, but keep in mind that you have to add it to the plugins directories of ADTF later on. - Press again.
- You should now have everything ready and no red values.
- Press .
- Now go to the build directory:
- On Windows open the
adtf_device_examples.slnwith Visual Studio and build it. Don't forget to build the INSTALL project after everything has been built. - On Linux type
make installin the build directory.
- On Windows open the
- done
Using the ADTF Device Toolbox configuration for your own projects
To use the ADTF Device Toolbox CMake configuration in your own projects you need to include it in your mainCMakeLists.txt file with the following command:
find_package(ADTF_DEVICE_TOOLBOX 3 REQUIRED COMPONENTS sdk)
adtf_devicetb_sdk.h.
That is used for extending functionality of the ADTF Device Toolbox, e.g. for Custom Bus-Database Parser SDK, with your own implementations.
The ADTF Device Toolbox ships with predefined CMake functions that help to build and deploy custom extensions.
A reference of these functions can be found in the ADTF Documentation .