 The ADTF GUI Control
This guide covers the functionality of the GUI Control. After reading this guide, you will know:
- How to connect to a running ADTF System
- How to run an ADTF Session
- How to play back a DAT file
- How to record data
- How to set marker in a recoded DAT file
Available commands
Although the ADTF GUI Control is a GUI application it still has some command line arguments.
Type: adtf_guicontrol.exe --help into a console to get the list of the supported commandline arguments:
ADTF GUI Control

adtf_guicontrol

Usage:
        adtf_guicontrol [--help] [--open <adtfsession|adtfproject>] [--connect] [--launch
                        <adtfsessionfile>] [--launcher <launcher>] [--run] [--init] [--environment
                        <adtfenvironmentfile>] [--url <url>] [--console] [--logview]
                        [--statusmonitor] [<adtfsession|adtfproject>]

Options:
        --help, -h  Print the usage info and quit.
        --open, -o <adtfsession|adtfproject>
                    Open the given project or session. Note: Explicit option --open does not work in
                    combination with using <adtfsession|adtfproject> as argument.

        --connect, -c
                    Connect to an ADTF instance on the default URL ('http://localhost:8000').

        --launch, -l <adtfsessionfile>
                    Launch an ADTF system with the given session file.

        --launcher <launcher>
                    Use the given launcher. If not specified the first one in the
                    adtf_control.adtfsettings file will be used.

        --run, -r   If used in conjunction with --launch, will pass the --run flag on to the
                    launcher.

        --init, -i  If used in conjunction with --launch, will pass the --init flag on to the
                    launcher.

        --environment <adtfenvironmentfile>
                    Specify an ADTF environment file that should be passed on to the launcher.

        --url, -u <url>
                    Connect to an ADTF system using the given URL for RPC communication. If used in
                    conjunction with '--launch', '--logview' and/or '--statusmonitor' the URL will
                    be passed to the related tool.

        --console   Will forward the --console flag to the launcher.
        --logview   Will additionally open the ADTF Log View Tool on the specified '--url', default
                    URL ('http://localhost:8000') will be used if not set.

        --statusmonitor
                    Will additionally open the ADTF Status Monitor on the specified '--url', default
                    URL ('http://localhost:8000') will be used if not set.

        <adtfsession|adtfproject>
                    Load the given session or project.
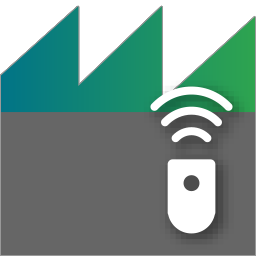
The Start Screen
The GUI-Control offers two ways to control an ADTF launcher:
- Option 1: Run an ADTF Session on a locally started ADTF Launcher
- Option 2: Connect to ADTF Session running on a remote ADTF Launcher
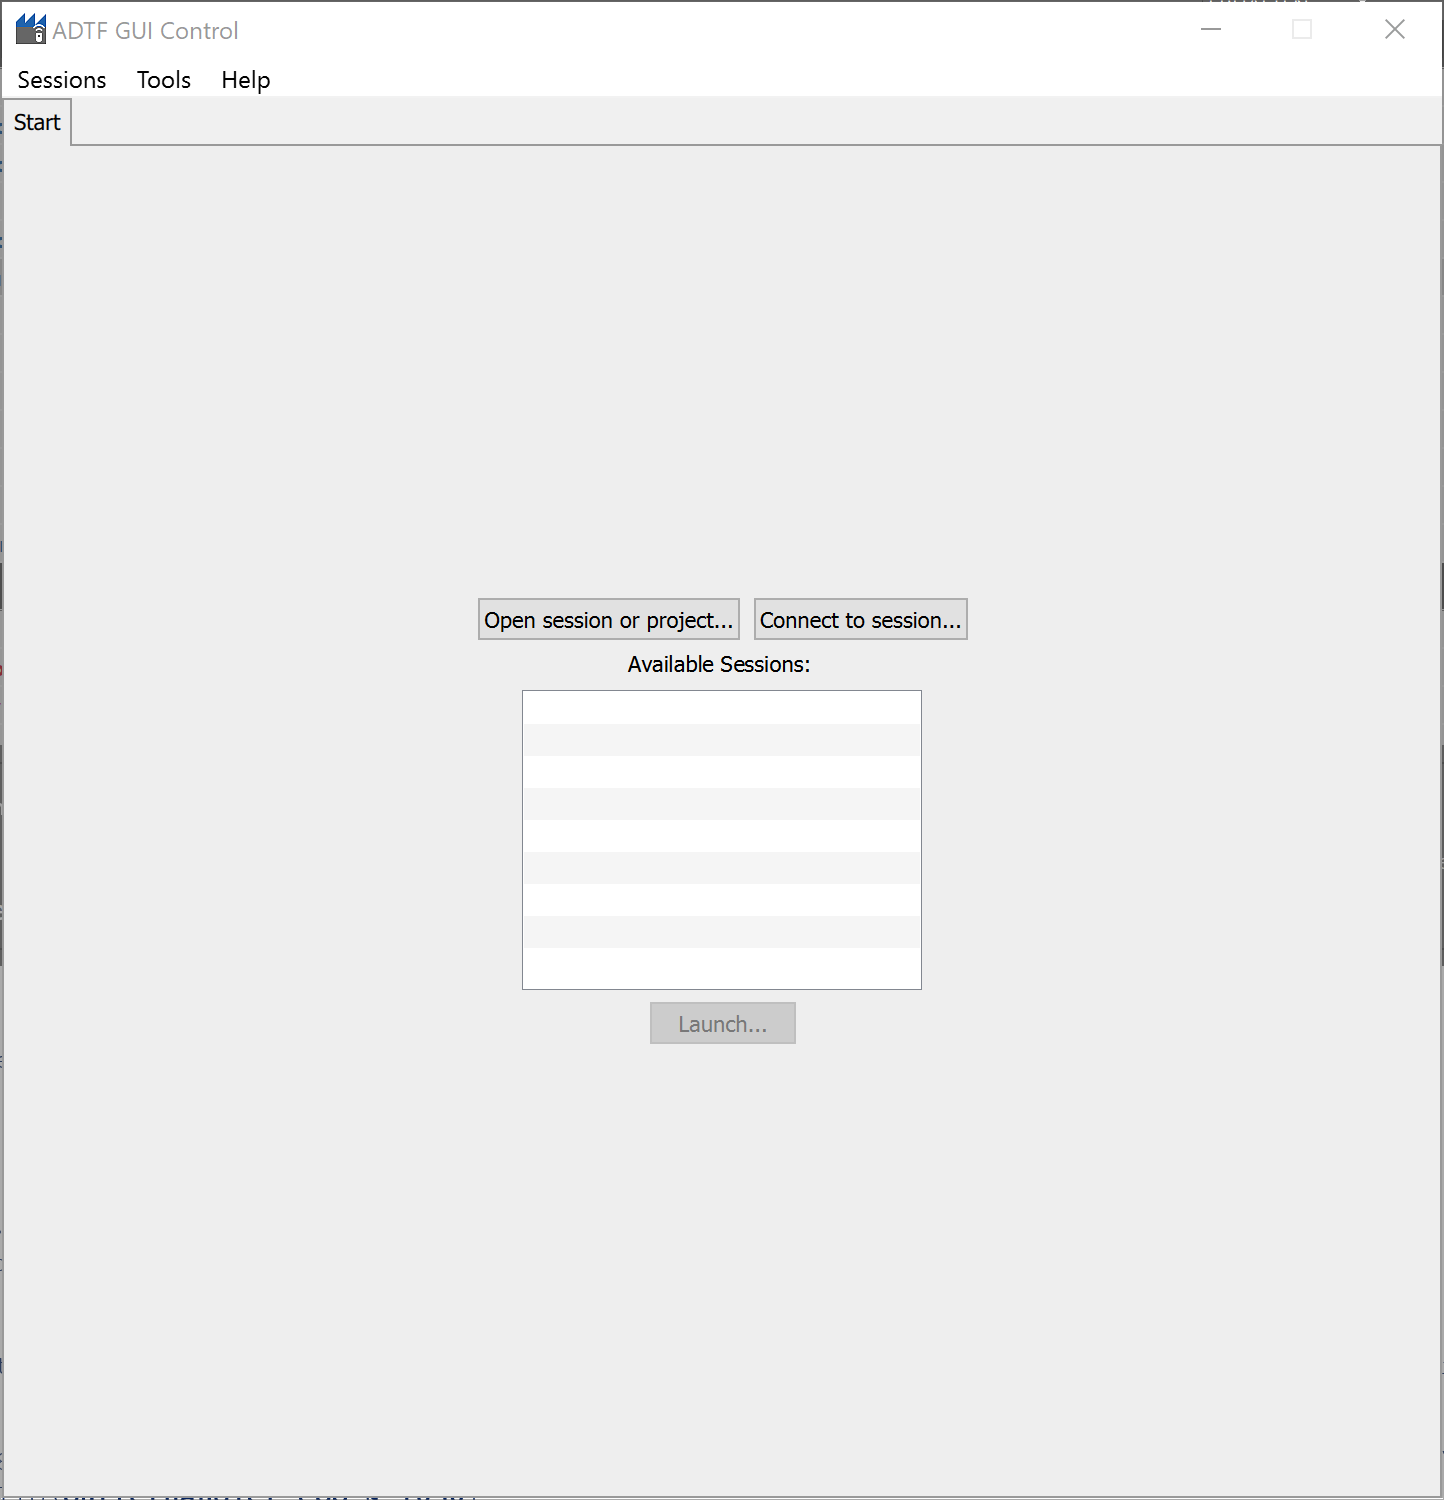
Run an ADTF Session locally
Click the "Open Session or Project" button to select an ADTF Session file (*.adtfsession) directly or a project file
(*.adtfproject) to list all ADTF Session files contained in this project.
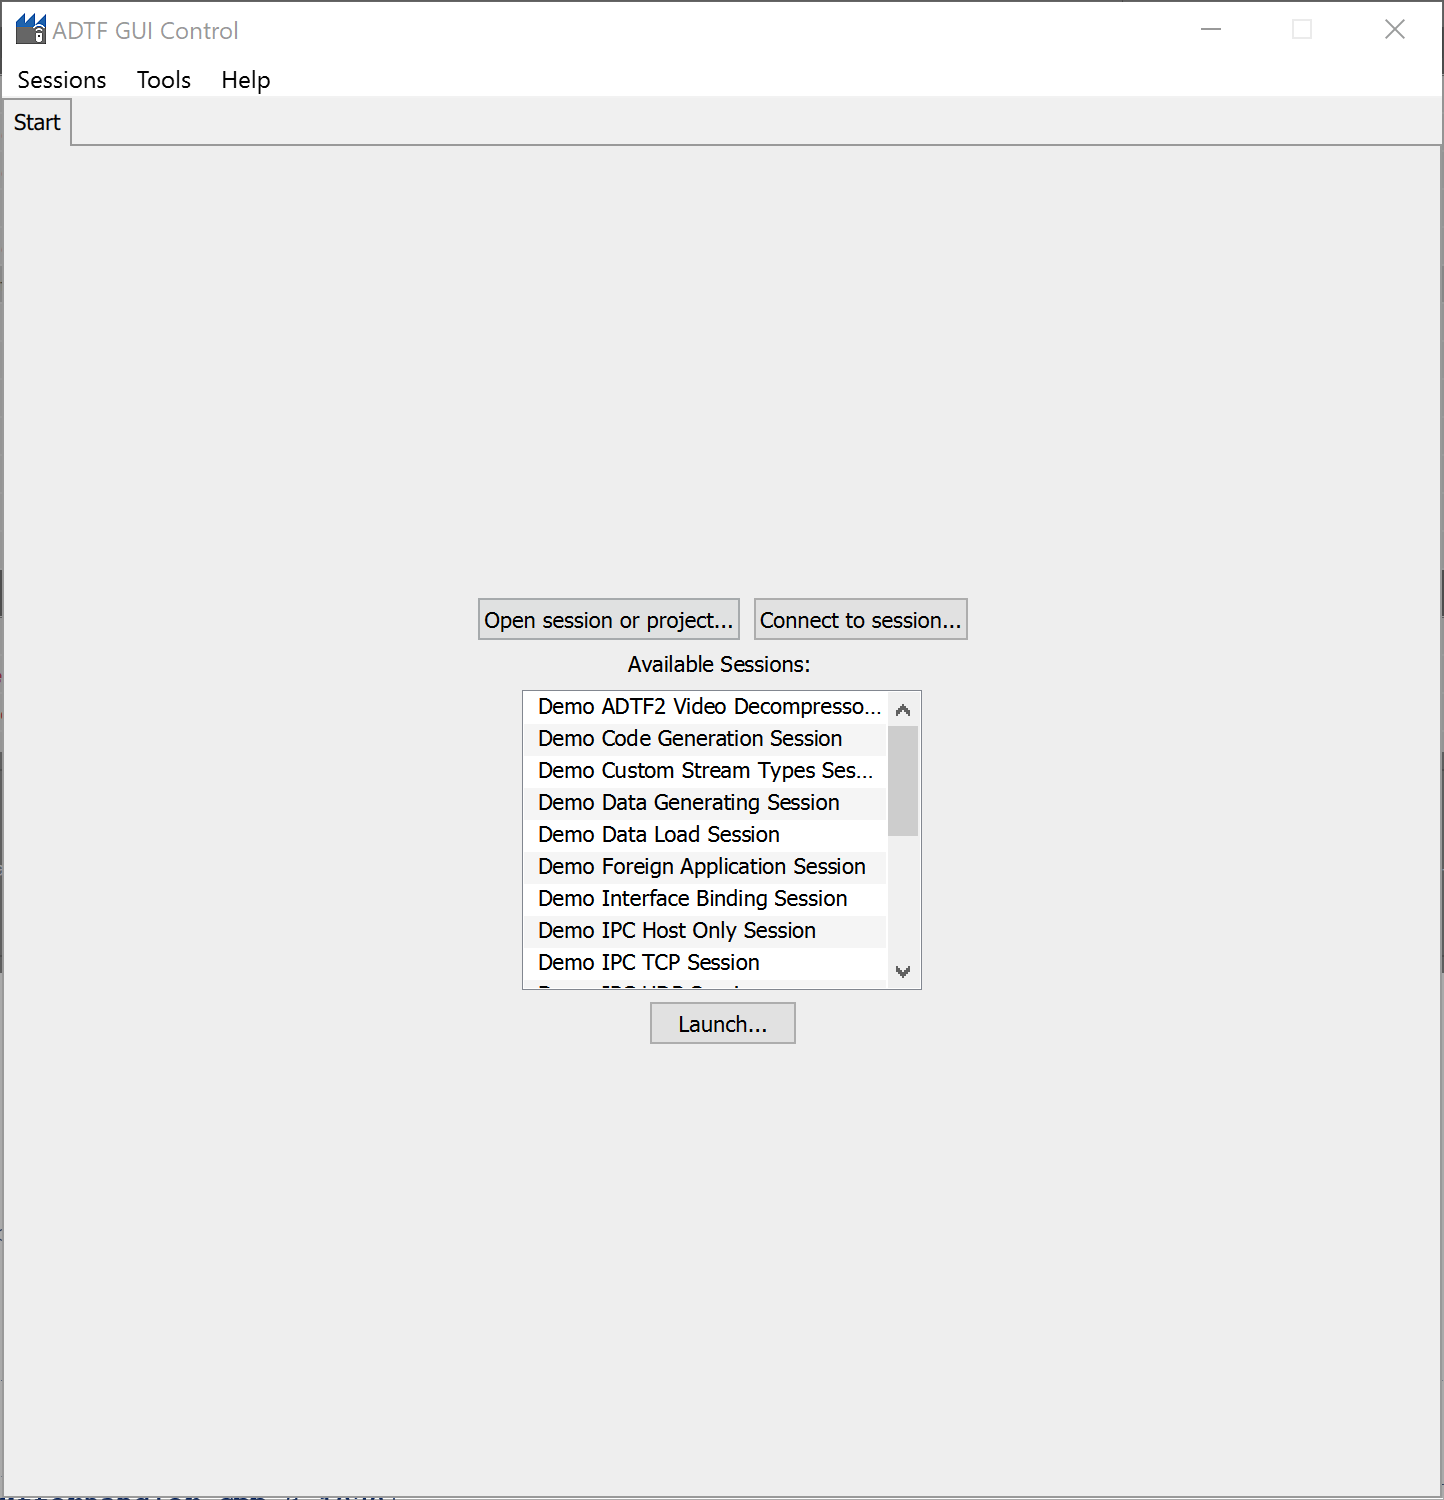
Next select one of the available ADTF Sessions and click the Launch button. A dialog with start settings
will show up. You can adopt the launcher command and the port the URL however should not be changed because it has no effect.
The launcher is always started on the local PC and the URL is shown for convenience only.
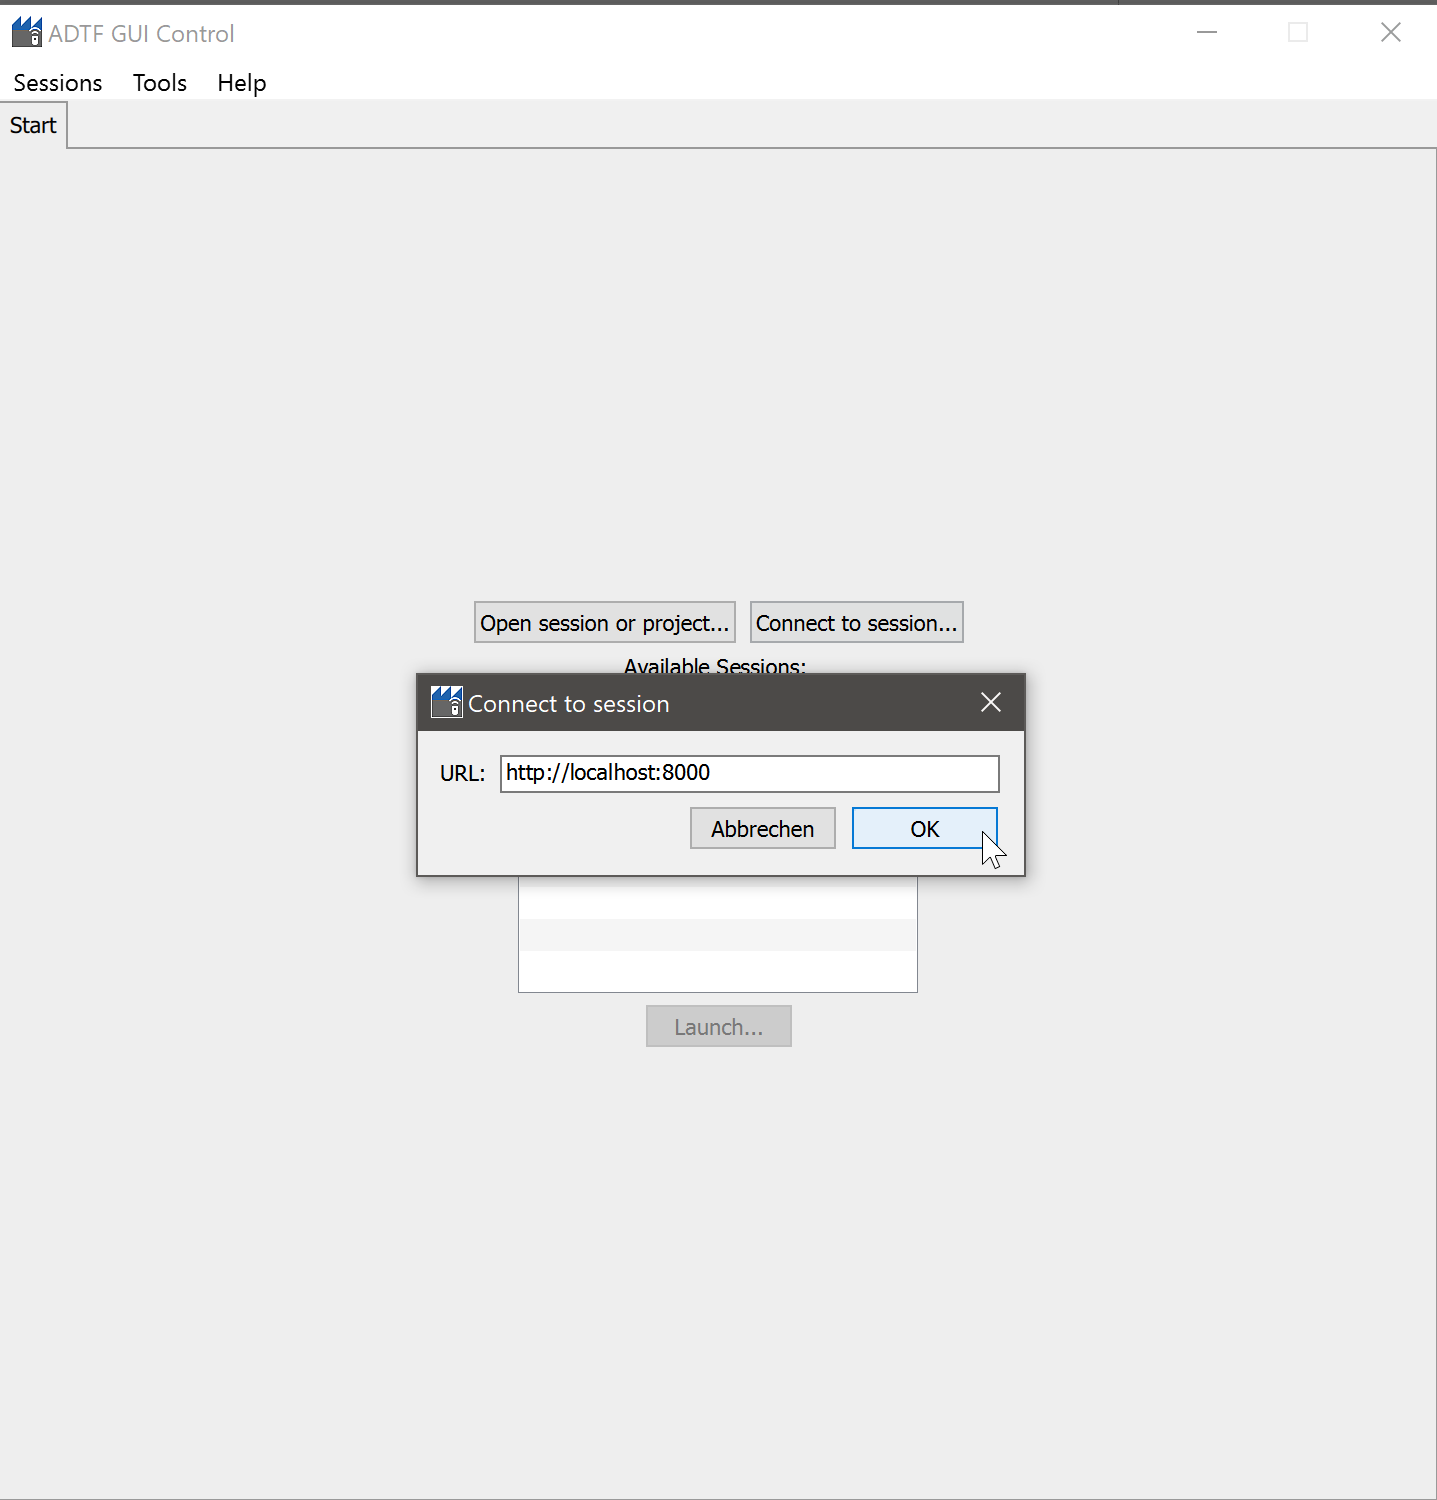
Connect to Remote Session
If you want to control an already running ATDF launcher maybe on an other PC in the same network click on the
"Connect to Session" button. A dialog will show up where you can specify the URL and port pointing to the remote
ADTF Launcher. The ADTF Launcher must have been started something like this on another pc to listen on the public interface:
adtf_launcher.exe -session="path/to/session.adtfsession" -control-url="http://10.10.10.36:8000" -console
Tab Controls
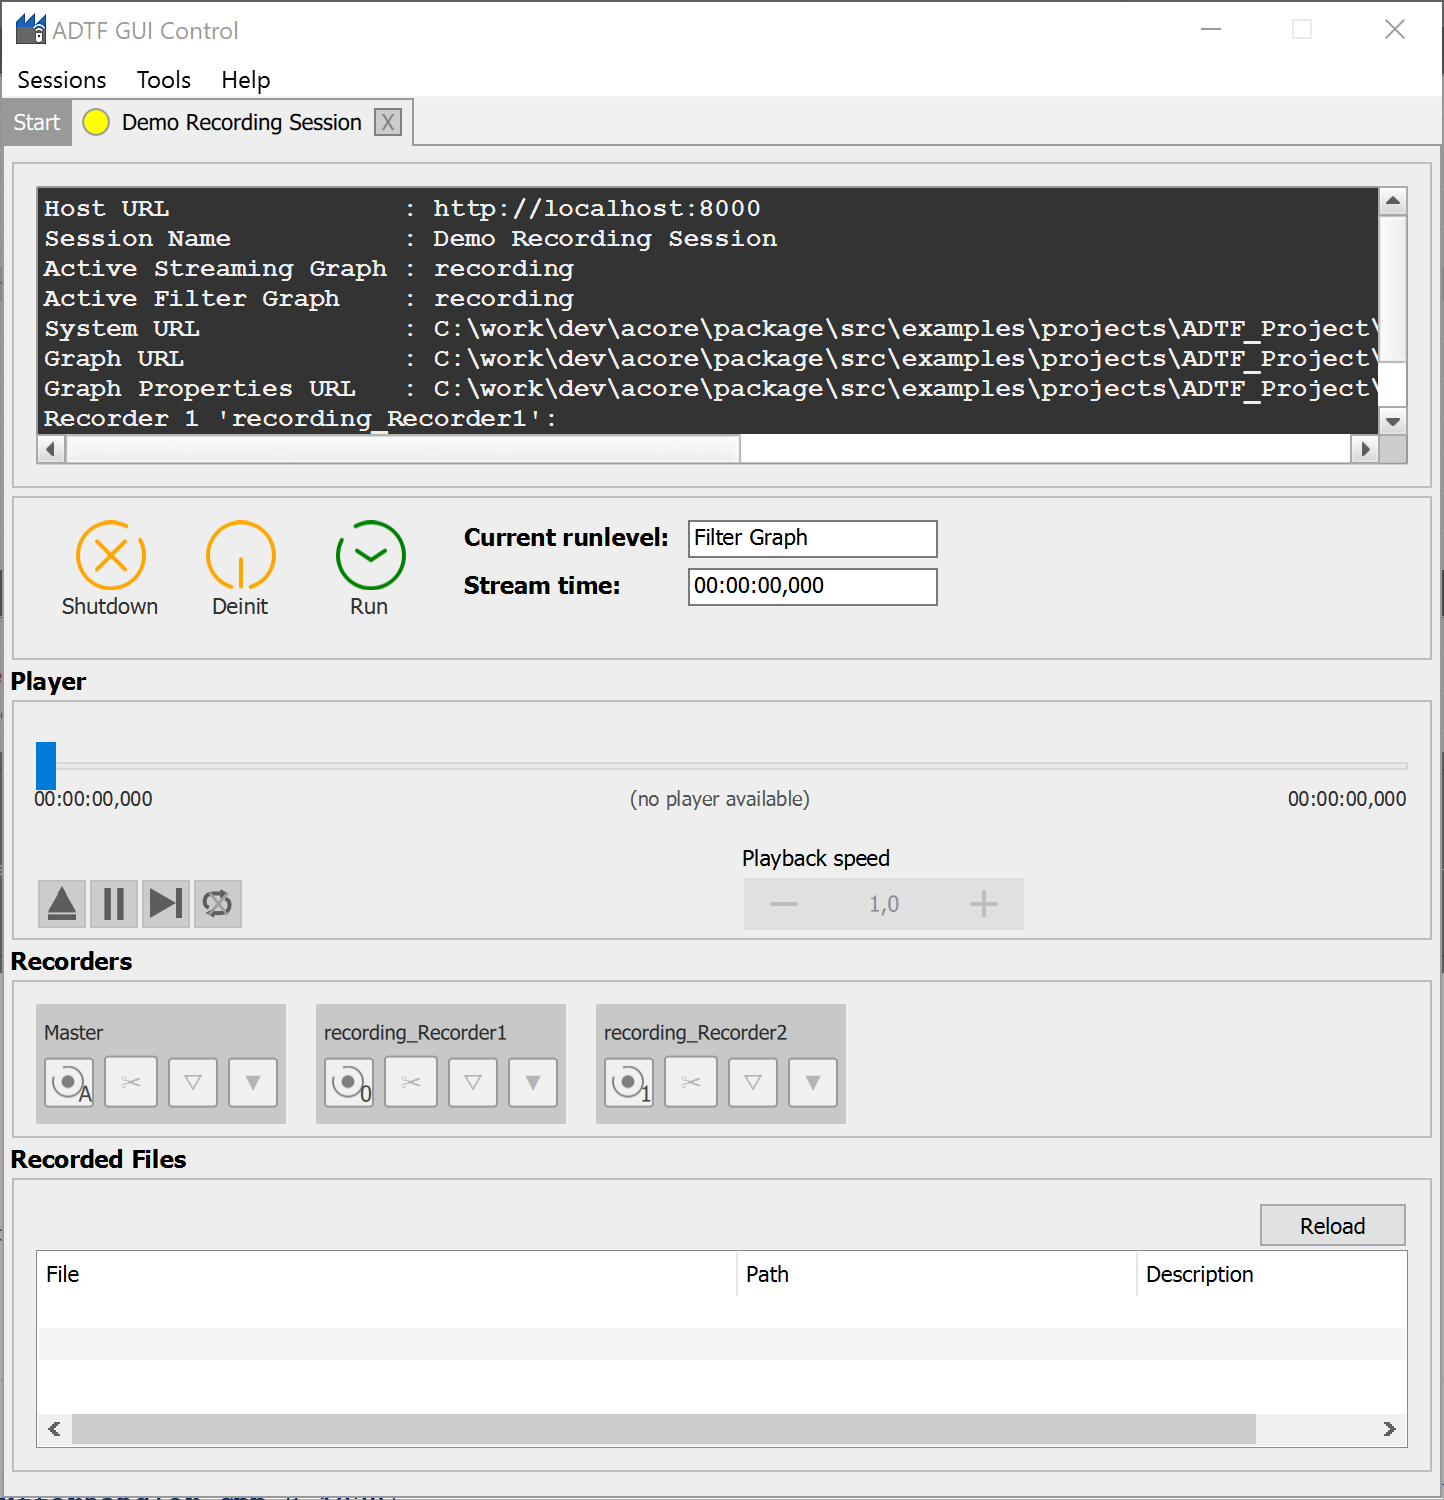
As soon as the connection to the ADTF Launcher is established a new tab with the name of the running ADTF Session will
show up inside the GUI-Control representing the new connection. Pressing the "X" on the tab header terminates the
connection and optionaly shuts down the ADTF Launcher.
The GUI Control offers the same functionality as the ADTF Control but with a convenient graphical user interface.
To make further connection you can switch back to the first tab with the name "Start" and repeat the preceding
steps.
In the header section you can see some common information about the connected ADTF Launcher e.g. the loaded ADTF System,
loaded ADTF Session and the currently active Streaming Graph and Filter Graph.
Bellow you can find the buttons Shutdown, Init and Run to control the runlevel of the Filter Graph. Pressing
the Run button starts the data flow through the Streaming Graph and Filter Graph.
Runlevel mapping between GUI-Control and ADTF Launcher:
| Button Clicked | Runlevel change within ADTF Launcher |
|---|---|
| Launch | System |
| Init | Filter Graph |
| Run | Running |
The Player Control
The Player can handle ADTF3 DAT files (*.adtfdat) and, if a data type mapping is avaiable, ADTF2 DAT files (*.dat). The player enables the user to:- Open a *.adtfdat/*.dat file
- Play a *.adtfdat/*.dat file
- Pause a *.adtfdat/*.dat file
- Step to next trigger in paused mode
- Enable/disable loop-mode
- Adapt playback speed
- Slide within the stream time
The Recorder Control
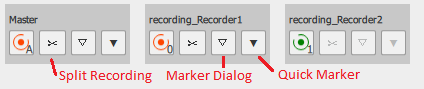
If the currently active Streaming Graph / Filter Graph (referenced in the running ADTF Session) has more than one ADTFDAT File Recorder each recorder gets it own control. Additionally one master control is added for convenience which drives all other recorders. The Recorder serves these functionalities:- Start recording
- Stop recording
- Split recording
- Open marker dialog
- Add QuickMarker
A red button means recording a green button means ready to start recording. The recorded data goes into a DAT file. The DAT files can be split into several chunks by clicking the split button. The given name to a recoreded file is configured as property of the ADTFDAT File Recorder inside the Configuration Editor.
Marker
The GUI-Control offers two possibilities to mark important events during recording. On the one hand you can use Quick Markers to place a marker immediately with a default label and the current time. On the other hand you can use the marker dialog button to specify a name and adjust the timestamp.
Quick Marker
Click the Quick Marker button and a marker is set immediatly at the current stream time with the default marker name
- Click marker dialog button
Marker dialog will open. 'Name' is set to default marker name. 'Position' is set to current stream time.
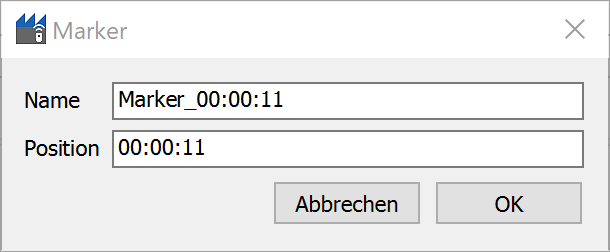
Marker Dialog
- If necessary, change marker name
-
If necessary, adjust marker position
Accepted pattern:[hhh:]mm:ss
For example:- 01:12:34
- 1:12:34
- 100:00:00
- 23:42
- Click 'OK' Button
Marker dialog will close and marker is set in DAT file.
Short Cuts
ctrl + 0 sets a QuickMarker for all recorders, note it is zero not the character 'O'
ctrl + m opens the marker dialog for all recorders
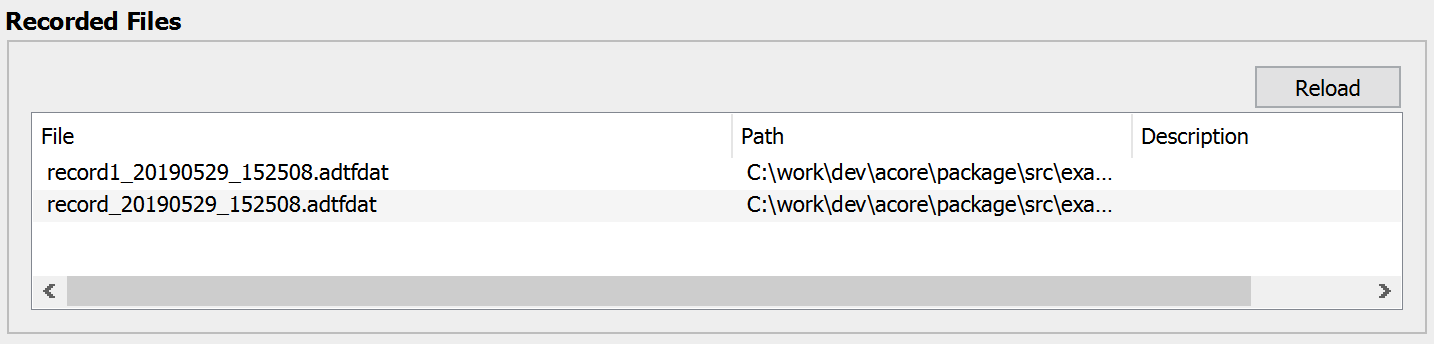
Recorded Files
All recorded DAT files are displayed in this table. Remember that the files are generated on the system where the ADTF Launcher was started which is not necessarily the ADTF System where the GUI Control is running! Each row of the table offers a context menu:
- Play - Starts the playback of the selected file if the active Streaming Graph / Filter Graph (inside the running Session of the ADTF Launcher) contains an ADTFDAT File Player.
- Delete - Removes the selected file from disk (on the system where the ADTF Launcher is running)
- Edit - Opens an editing dialog for the description of the selected DAT file
Where to go next?
Have a look at the ADTF Plugin Description Generator to understand how the information of the ADTF Components will be generated for e.g. ADTF Configuration Editor.